2. Setup your system
In this section, we will go through setting up a Raspberry Pi 4 to be used with MAPLE. If you’re able to setup a Raspberry Pi Bookworm 64-bit Lite OS (or similar Linux OS) on your system and configure SSH & internet connectivity on your own, you can skip to Installing MAPLE.
You will need internet on your system when you boot it up, so either configure WiFi or plugin an ethernet cable.
2.1. Imaging your Raspberry Pi
Download the latest version of the Raspberry Pi Imager Tool.
Plug your microSD card into your computer and open the RPi Imager tool.
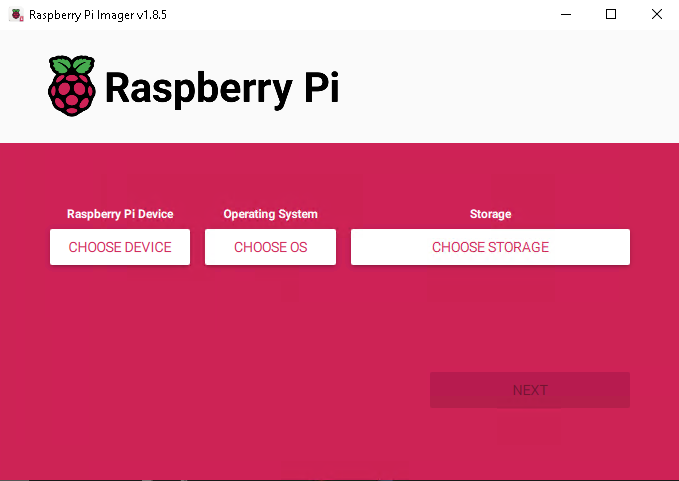
Select your Raspberry Pi device, the Raspberry Pi OS Lite (64-bit) (under “Choose OS” -> “Raspberry Pi OS, Other”), then your storage device (your microSD card).
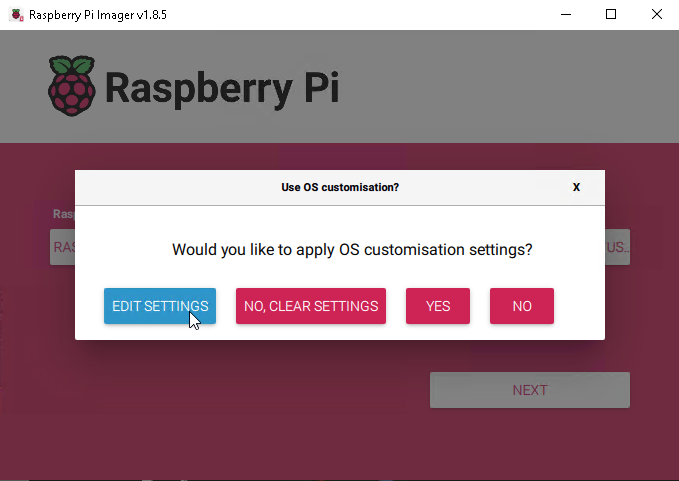
Click “Next”, then select “Edit Settings”.
Set the hostname to
maple, user topi, and choose a password for the user. Choose the wireless LAN (WiFI) that you will connect to and set the password. Make sure to choose the proper country as well. In the locale settings, select your timezone.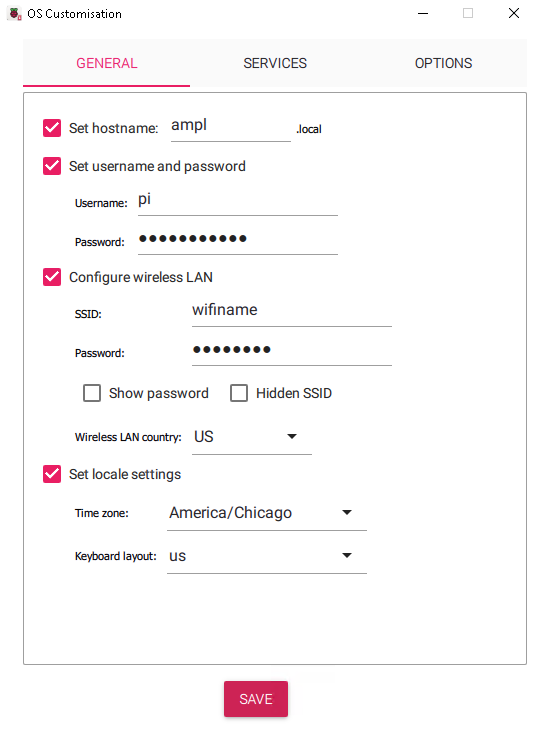
Click the “Services” tab at the top, then enable SSH by clicking the checkbox.
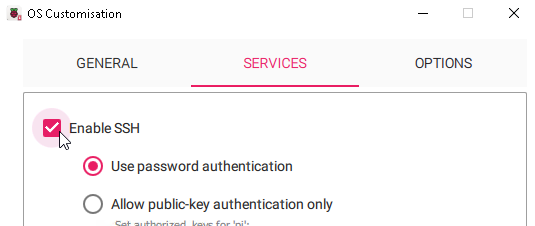
Click “Save” at the bottom of the customization menu.

Click “Yes” to apply OS Customisation settings.

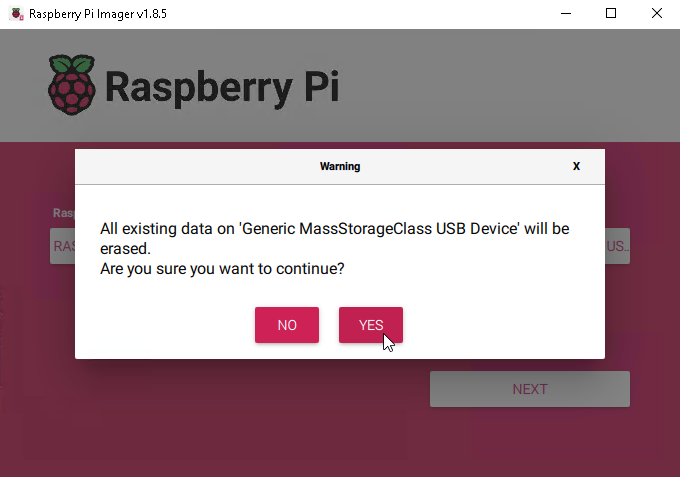
The imager tool will ask you to make sure you really want to image this storage device, ensure you’ve selected the correct storage, then click “Yes”.
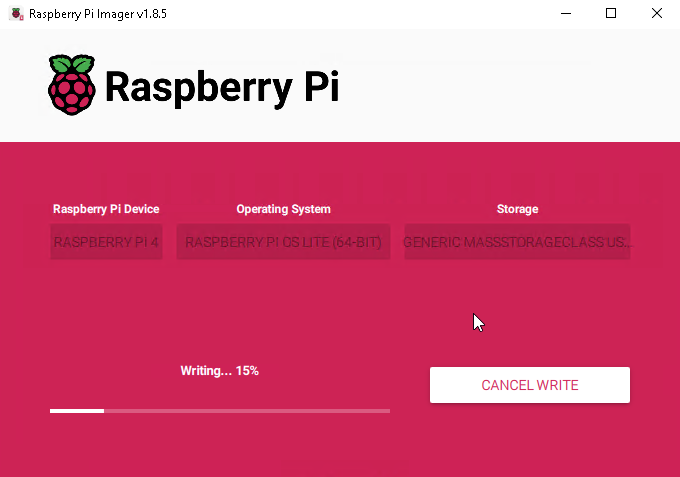
Wait for the imager to finish writing to the SD card. You should see a confirmation screen once the card has been successfully imaged.
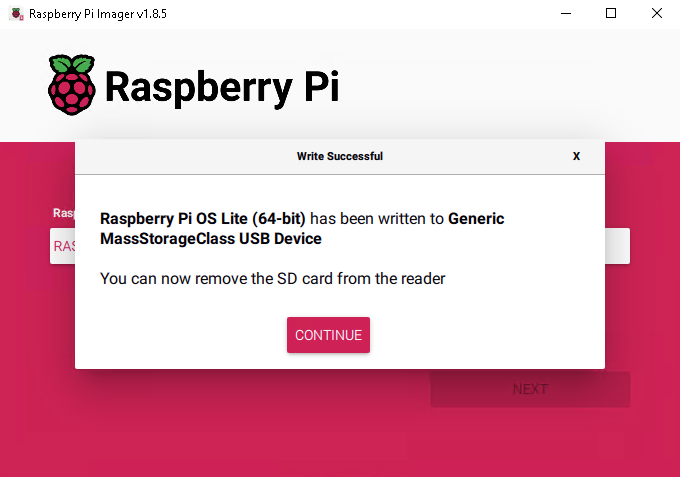
You can unplug your microSD card from your computer now and plug it into the Raspberry Pi.
2.2. Connecting to your Raspberry Pi
This section is assuming you are trying to connect to your Raspberry Pi using a Windows 7/8/10/11 computer.
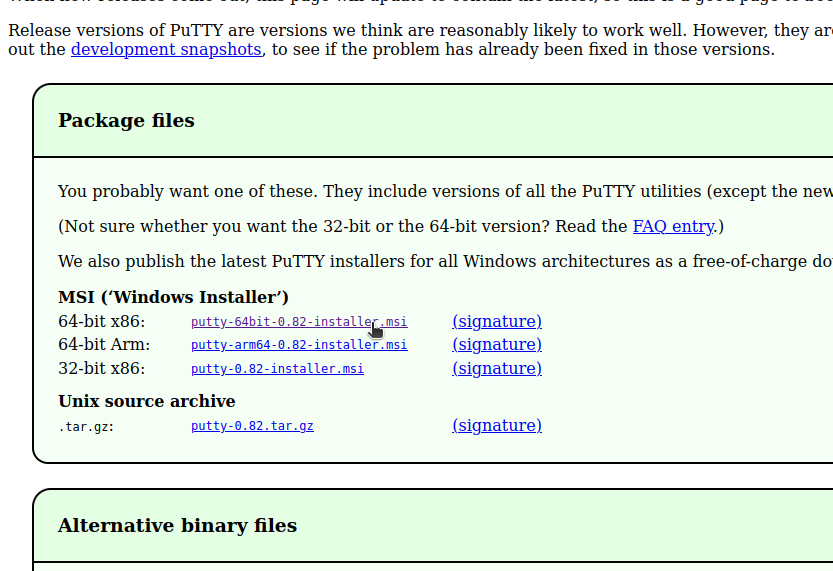
We will connect to our Raspberry Pi over the network using a program called PuTTY. Download and install PuTTY
Make sure your microSD card is plugged into your Raspberry Pi, then plugin the power cable. Your Pi should automatically turn on. For Raspberry Pi 5’s, you will need to press the power button to turn it on.
Note
The first time your Pi boots up, it can take more than 2 minutes to fully start. After the first boot, the Pi will usually takes 30 seconds - 1 minute to start up.
Open up PuTTY on your computer.
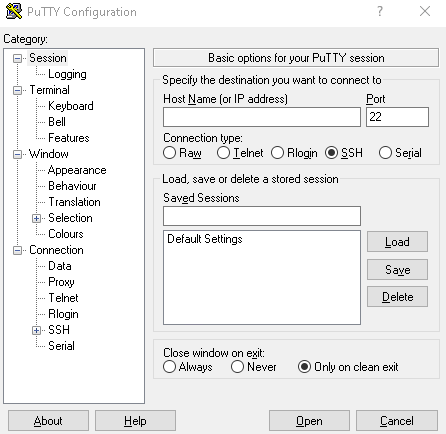
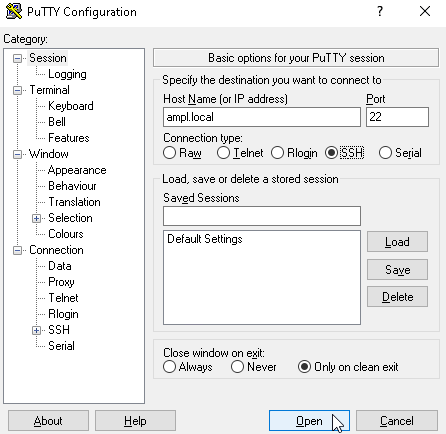
To connect to your Raspberry Pi over the network, type in the IP address or hostname of the Pi. We set this earlier to be
maple.local. Make sure the “Connection type” is set to “SSH”, then click “Open”.Note
Your computer and Raspberry Pi must be connected to the same network in order to use SSH.
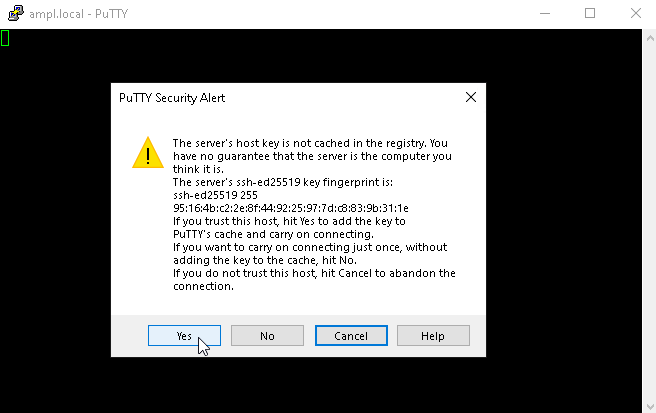
The first time you connect to your Pi over PuTTY, you will get the following security alert. Click “Yes” to continue connecting.
Type in your username (
pi), press enter, type in the password you set, then press enter again.Note
The letters will not show up as you type them in, this is to keep your password a secret from people looking at your screen.
Now you should see the following screen. This is a “terminal” connected to your Raspberry Pi. We will be using the terminal in the next steps to install and configure MAPLE.
